If you’re just starting out in property development, Subdivisions can be a great beginner’s strategy. It's one of the most accessible entry points into the industry.
Depending on your appetite for risk and your funding capacity, you can do a DA (development application) uplift and let someone else take the reins, you can sell the newly created blocks as vacant land, you can pair the land with house plans and sell it as a house and land package or you can construct the new house and sell the finished product. Each exist strategy suits different levels of capital, experience and risk tolerance.
But regardless of which exit strategy you choose, you can count on a few headaches as you step your way through hoops you’ve probably never encountered in the land of basic property investment.
Our free introductory course 7 Step Development FORMULA shares lots of different exit strategy ideas.
Today I’m going to share three top tips to make the subdivision process a little smoother for property developers. If you take these tips on board at the very start of your development journey, you’ll be in a much better position to avoid some of the more common problems that crop up doing a typical subdivision.
1. Be proactive with your civil engineer team
Your biggest friend when it comes to subdivision is your civil engineer team. But in many instances they only do what they’re told. If you’ve got a crack team you’ll be right but many people don’t have a crack team.
This means the team doesn’t think for you, so if you forget to ask them something, they won’t necessarily ask you and might in fact assume you’re taking charge of that.
So you’ve got to be proactive. This means having a basic understanding of what your team will be doing and asking LOTS of questions. Strong communication with your consultants can save significant time and money during a property subdivision project.
Let me give you a couple of examples of things that can get missed.
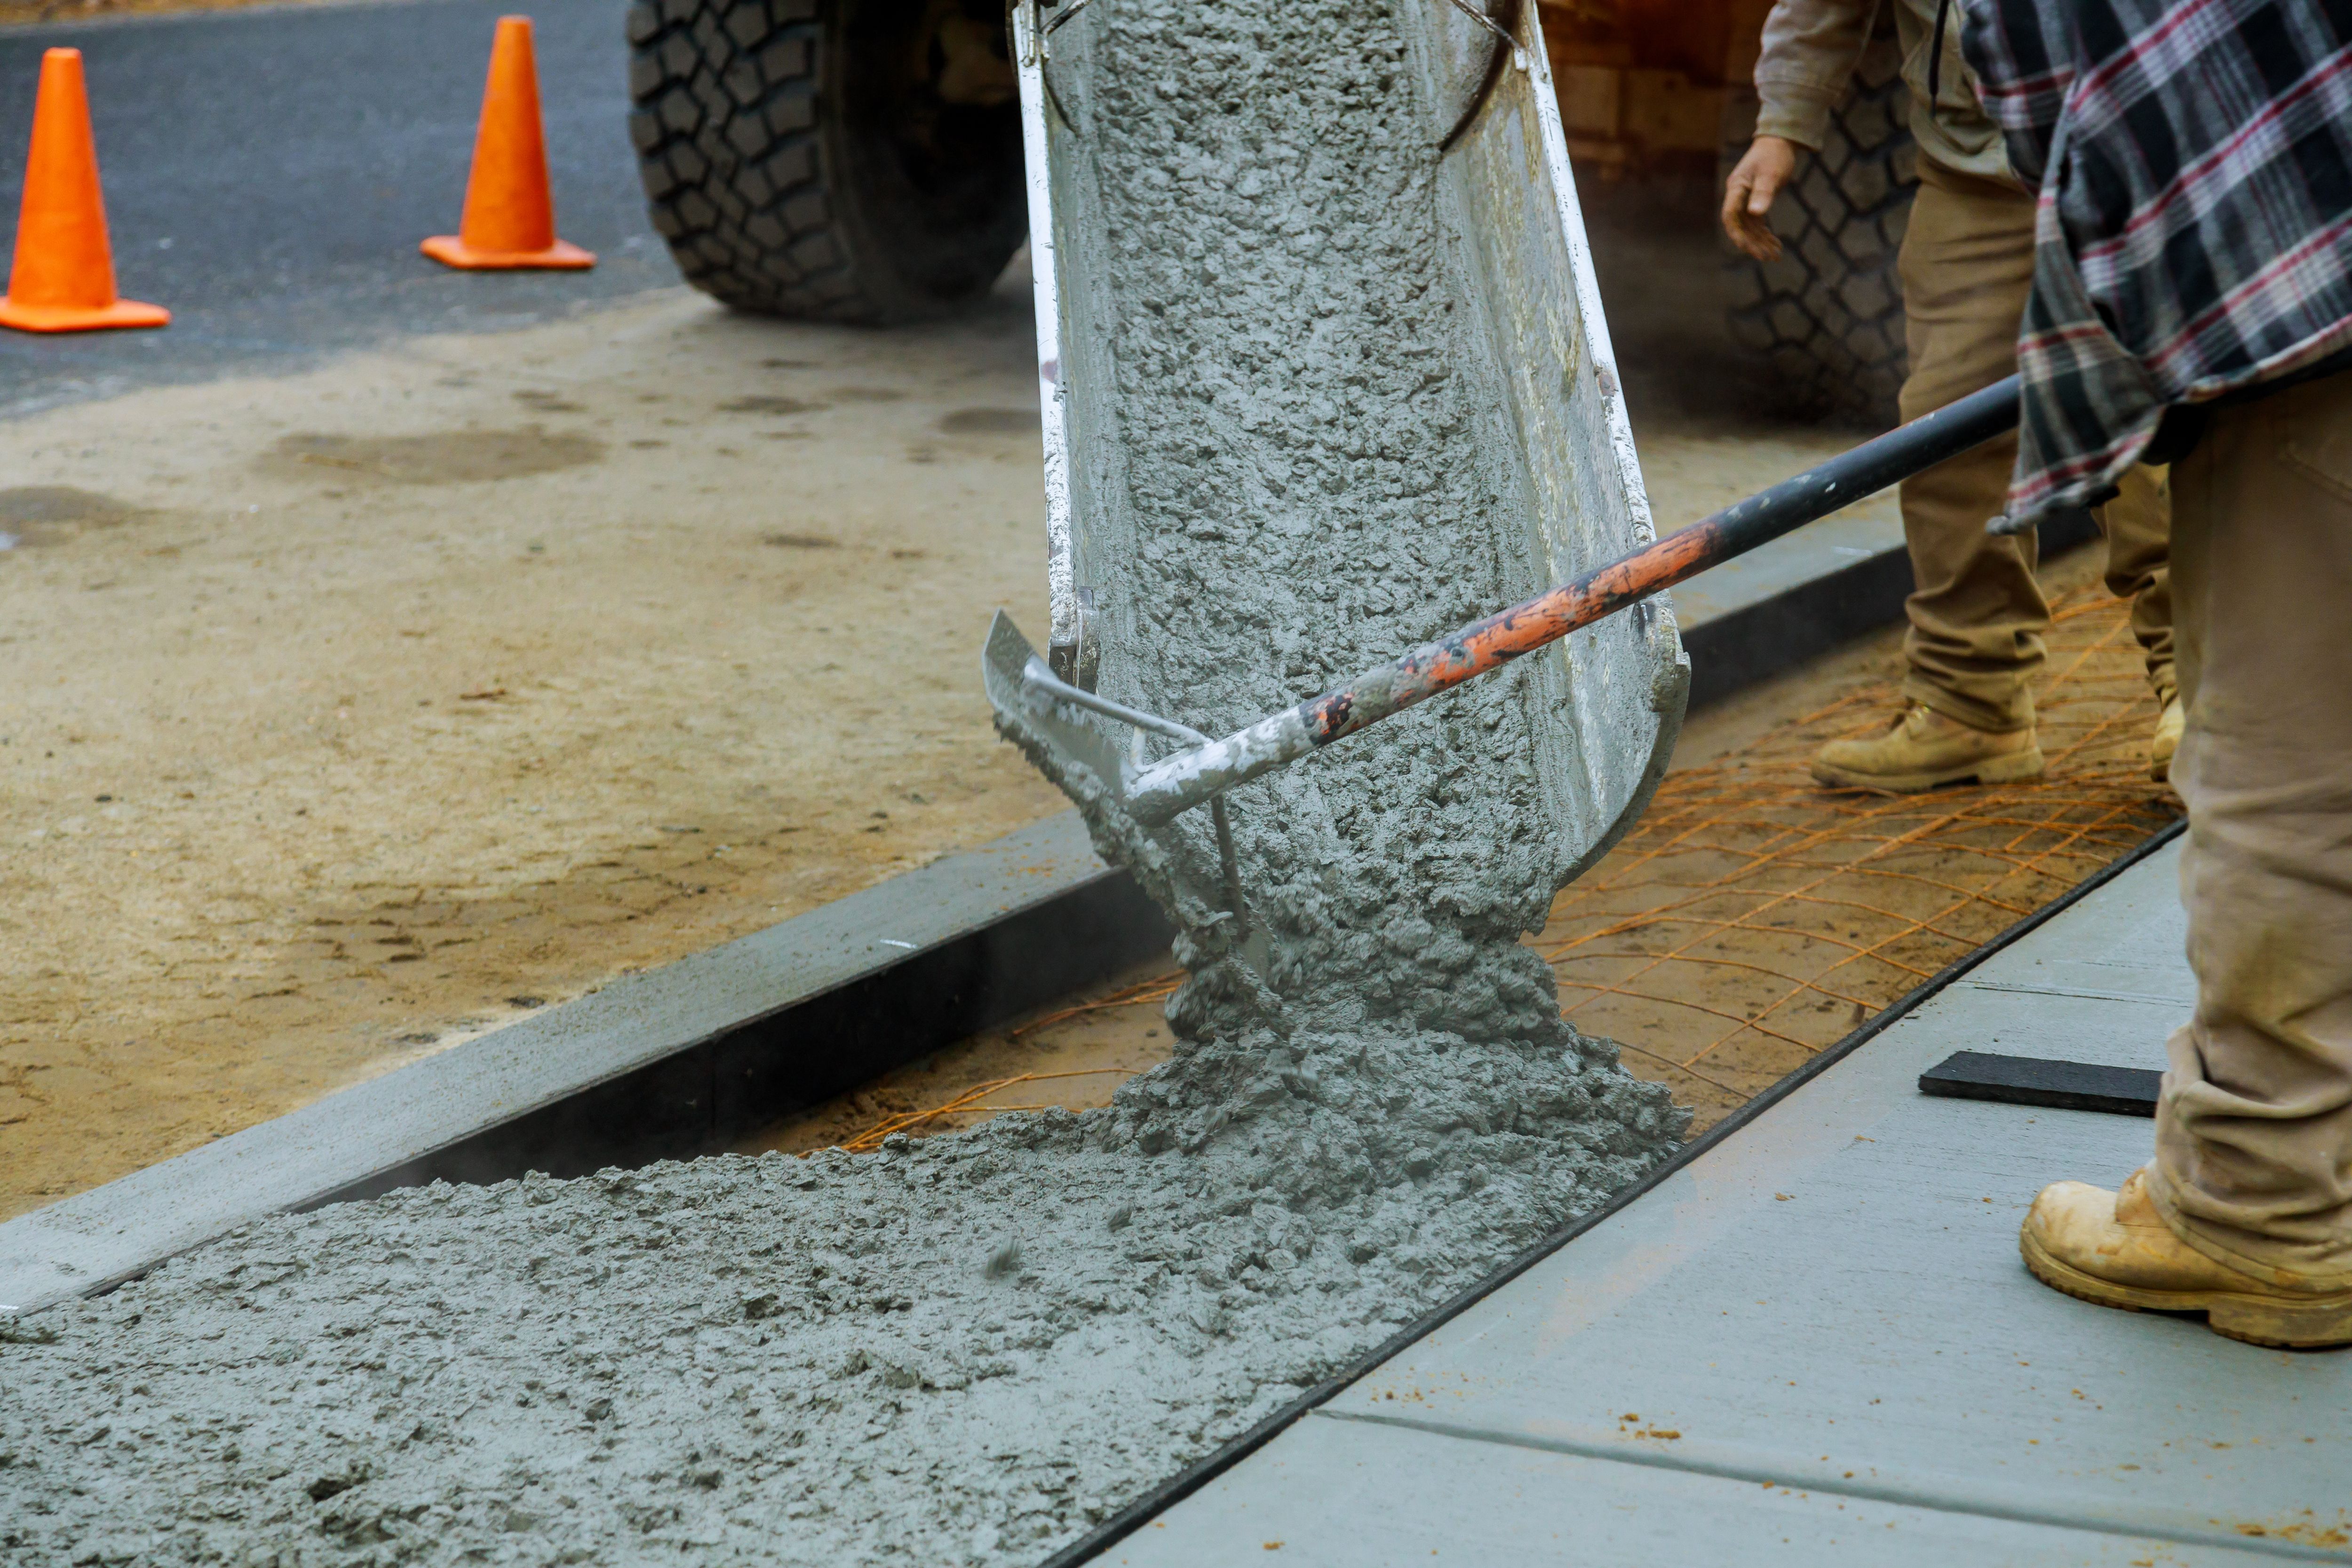 If one of your DA conditions is to have footpaths “to the current standard”, you’ll need to find out exactly what that current standard entails. If your existing footpaths are 750mm wide and the new standard is 1000mm, you’ll have to pay for upgrading the footpaths. Most of us will assume an existing footpath in good condition meets the brief but this isn’t always the case.
Similarly, when it comes to fire hydrants, councils require a minimum distance from a property border, If you’ve got a battleaxe, that minimum applies to the rear property as well as the front property so you’ll need to take into account the length of the access driveway.
2. Make friends with the neighbours
Your next best friend after your civil engineer team is your neighbours. You might share a boundary with just one neighbour or you might share with multiple neighbours, but whatever the case, you want these people on your side.
There’s a good chance you’ll need their permission for drainage or service works which cross over their boundary. And the last thing you need when you’re tackling your first subdivision is a neighbour making a complaint to council which could significantly delay your process.
If you upset the neighbours it could also make the newly created lots harder to sell as they may cause trouble while you’re running your sale campaign.
So, before you begin any major work on site, go and chat to the neighbours. Talk through your design and the expected timeframe and give them your details so they can bring any concerns to your attention directly.
3. Start with the end in mind – plan sealing
Failing to plan for plan sealing is one of the most common mistakes I see inexperienced developers make. While it’s the last step for getting separate titles for your newly-subdivided lot, it’s a step that requires quite a bit of ground work as you move through the process of subdivision.
Before council will seal a plan, the council officer will want to see proof that your property development complies with all the conditions set down for lot reconfiguration and operational works.
 The problem is most people forget to keep track of at least some of those conditions. They may look simple on paper but if you can’t prove that each condition has been met, council won’t seal your plans.
For example, council will expect appropriate erosion and sediment control, a standard requirement for any building and development work. But if you’ve forgotten to take a photo showing your sediment control in place on site, council has no way of confirming you met this condition.
And there are some conditions that take far longer than most of us expect, for example an NBN connection. Seems straightforward and only costs $500, but did you know it can take up to six months to get a connection and the required certificate?
Most people worry about the big ticket items – storm water and sewer – and forget the little things and it’s the little things that will hurt.
The solution is right in front of you when you receive your development approval: go through that list of conditions at the very start and kick-start the process of proof.
Next to your column of conditions you’ll find an acceptable standard to say how each condition will be measured.
My advice is to copy that into a table, then add a third column to input proof that you met that condition. It might be a photo, a reference to an attachment, or sometimes you’ll just write “noted” if no physical proof can be supplied.
Be sure to fill in the “proof” column as and when each condition is being met. For our sediment example, you’ll want to take a photo as soon as the controls are in place, that way there’s no chance of forgetting and having to recreate sediment control when the subdivision is complete.
Good record keeping throughout the property development process makes title issue and settlement much smoother.
A final note
It’s not often a problem comes up that hasn’t been dealt with by someone in our network. This is where hanging around with people that are doing what we want to be doing is invaluable. Come to our Property Development Network meetups, or join in online, and ask the people who have multiple projects under their belt what problems they came across doing subdivisions and what solutions they found.
You’ll be surprised by how much you can learn having a casual chat with like-minded folk. Sometimes one good conversation can save months of mistakes on your next subdivision deal.
Depending on your appetite for risk and your funding capacity, you can do a DA (development application) uplift and let someone else take the reins, you can sell the newly created blocks as vacant land, you can pair the land with house plans and sell it as a house and land package or you can construct the new house and sell the finished product. Each exist strategy suits different levels of capital, experience and risk tolerance.
But regardless of which exit strategy you choose, you can count on a few headaches as you step your way through hoops you’ve probably never encountered in the land of basic property investment.
Our free introductory course 7 Step Development FORMULA shares lots of different exit strategy ideas.
Today I’m going to share three top tips to make the subdivision process a little smoother for property developers. If you take these tips on board at the very start of your development journey, you’ll be in a much better position to avoid some of the more common problems that crop up doing a typical subdivision.
1. Be proactive with your civil engineer team
Your biggest friend when it comes to subdivision is your civil engineer team. But in many instances they only do what they’re told. If you’ve got a crack team you’ll be right but many people don’t have a crack team.
This means the team doesn’t think for you, so if you forget to ask them something, they won’t necessarily ask you and might in fact assume you’re taking charge of that.
So you’ve got to be proactive. This means having a basic understanding of what your team will be doing and asking LOTS of questions. Strong communication with your consultants can save significant time and money during a property subdivision project.
Let me give you a couple of examples of things that can get missed.
If one of your DA conditions is to have footpaths “to the current standard”, you’ll need to find out exactly what that current standard entails. If your existing footpaths are 750mm wide and the new standard is 1000mm, you’ll have to pay for upgrading the footpaths. Most of us will assume an existing footpath in good condition meets the brief but this isn’t always the case.Similarly, when it comes to fire hydrants, councils require a minimum distance from a property border, If you’ve got a battleaxe, that minimum applies to the rear property as well as the front property so you’ll need to take into account the length of the access driveway.
2. Make friends with the neighbours
Your next best friend after your civil engineer team is your neighbours. You might share a boundary with just one neighbour or you might share with multiple neighbours, but whatever the case, you want these people on your side.
There’s a good chance you’ll need their permission for drainage or service works which cross over their boundary. And the last thing you need when you’re tackling your first subdivision is a neighbour making a complaint to council which could significantly delay your process.
If you upset the neighbours it could also make the newly created lots harder to sell as they may cause trouble while you’re running your sale campaign.
So, before you begin any major work on site, go and chat to the neighbours. Talk through your design and the expected timeframe and give them your details so they can bring any concerns to your attention directly.
3. Start with the end in mind – plan sealing
Failing to plan for plan sealing is one of the most common mistakes I see inexperienced developers make. While it’s the last step for getting separate titles for your newly-subdivided lot, it’s a step that requires quite a bit of ground work as you move through the process of subdivision.
Before council will seal a plan, the council officer will want to see proof that your property development complies with all the conditions set down for lot reconfiguration and operational works.
The problem is most people forget to keep track of at least some of those conditions. They may look simple on paper but if you can’t prove that each condition has been met, council won’t seal your plans.For example, council will expect appropriate erosion and sediment control, a standard requirement for any building and development work. But if you’ve forgotten to take a photo showing your sediment control in place on site, council has no way of confirming you met this condition.
And there are some conditions that take far longer than most of us expect, for example an NBN connection. Seems straightforward and only costs $500, but did you know it can take up to six months to get a connection and the required certificate?
Most people worry about the big ticket items – storm water and sewer – and forget the little things and it’s the little things that will hurt.
The solution is right in front of you when you receive your development approval: go through that list of conditions at the very start and kick-start the process of proof.
Next to your column of conditions you’ll find an acceptable standard to say how each condition will be measured.
My advice is to copy that into a table, then add a third column to input proof that you met that condition. It might be a photo, a reference to an attachment, or sometimes you’ll just write “noted” if no physical proof can be supplied.
Be sure to fill in the “proof” column as and when each condition is being met. For our sediment example, you’ll want to take a photo as soon as the controls are in place, that way there’s no chance of forgetting and having to recreate sediment control when the subdivision is complete.
Good record keeping throughout the property development process makes title issue and settlement much smoother.
A final note
It’s not often a problem comes up that hasn’t been dealt with by someone in our network. This is where hanging around with people that are doing what we want to be doing is invaluable. Come to our Property Development Network meetups, or join in online, and ask the people who have multiple projects under their belt what problems they came across doing subdivisions and what solutions they found.
You’ll be surprised by how much you can learn having a casual chat with like-minded folk. Sometimes one good conversation can save months of mistakes on your next subdivision deal.